From Clay to Art: The Complete Manufacturing Process of High-Quality Ceramic Tableware

When you enjoy a meal, have you ever noticed the warm, smooth plate in your hand? It may have undergone a journey of over 24 meticulous steps, lasting weeks or even months, transforming from a lump of ordinary clay into a work of art for your table. Understanding how ceramic tableware is made not only allows us to better appreciate its value but also helps us make more informed choices when purchasing. This article will take you behind the scenes to unveil the secrets behind the birth of a high-quality ceramic piece.
Stage 1: Design & Forming – The Origin of Art
It all begins with an idea. Designers translate inspiration into precise drawings, defining the lines, curves, and proportions of the shape. This determines the final aesthetics and feel of the piece. Then, the process moves to its core: forming the body. Depending on the material and type, there are three primary methods:
Slip Casting: Liquid slip (a mixture of clay and water) is poured into porous plaster molds. The plaster absorbs water, causing a uniform layer of clay to build up on the mold’s inner walls. Ideal for complex, hollow pieces like teapots or uniquely shaped bowls/plates.
Press Molding: Powdered clay body with low moisture content is pressed into shape within steel molds using high-pressure machinery. This efficient method produces dense, uniform bodies, perfect for plates and dishes with regular shapes.
Wheel Throwing (or Jiggering): Clay is placed on a rotating potter’s wheel and shaped by the hands of a craftsperson or with a profile tool. This is the most traditional and artistic method, often used for circular vessels, where each piece may carry subtle, unique characteristics.
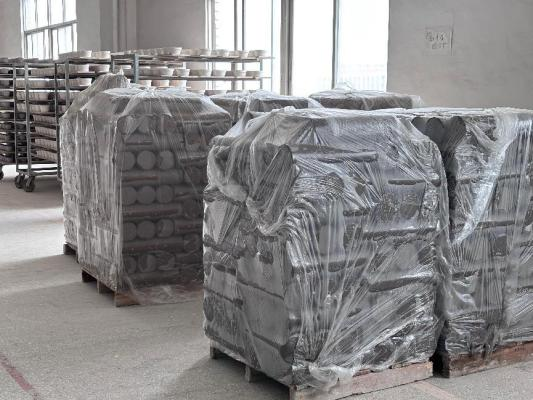
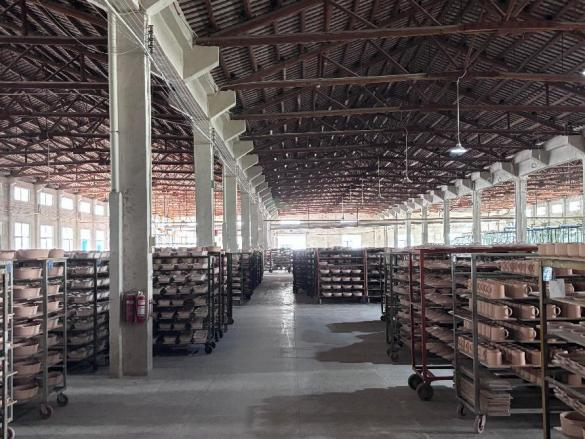
After forming, the greenware must undergo several days of natural drying to gain strength before facing the next critical test: the bisque firing.
Stage 2: Bisque Firing & Glazing – Laying the Foundation
Air-dried greenware still contains moisture and is very fragile. Bisque firing is the initial firing at a relatively low temperature (approximately 800°C-900°C). This process completely removes both physical and chemical water from the body, hardening it into a porous, absorbent state known as ‘bisque’. The bisqueware now has sufficient strength to withstand subsequent glazing and finishing.
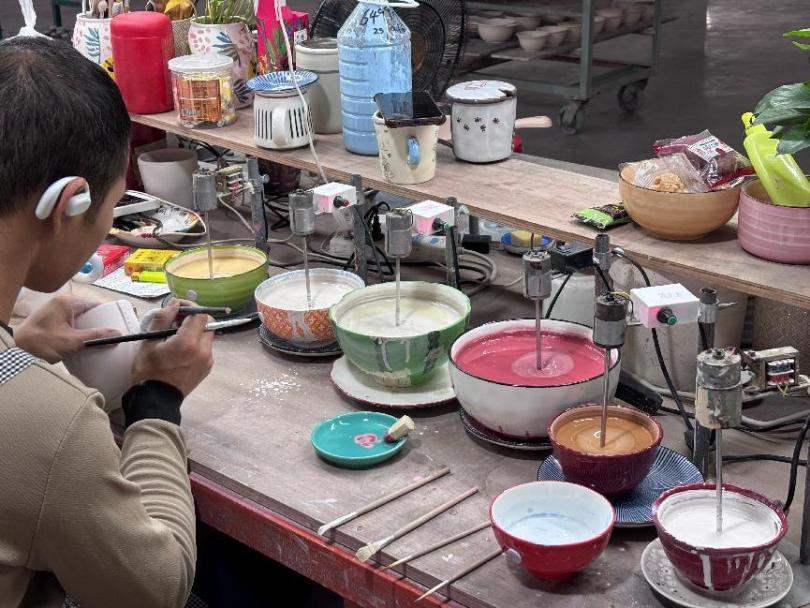
Glazing is the key step of clothing the ceramic. Glaze is a glass-like coating that melts during high-temperature firing to form a smooth, dense, and waterproof surface. Application techniques vary:
Dipping: The bisqueware is held and immersed into a glaze bath, then quickly lifted out. This common method yields a uniform coating.
Spraying: A spray gun is used to atomize and mist the glaze onto the ware, allowing for even and controllable thickness.
Brushing: Glaze is applied with a brush, often used for local application or creating artistic effects.
Glaze is not just about appearance (gloss, color); it crucially determines food safety, hardness, and cleanability. High-quality glazes ensure heavy metal release is far below international standards.
Stage 3: Glaze Firing & Decoration – Transformation by Fire
The glazed ware now faces its most crucial transformation: the glaze firing. This is the highest temperature firing the ceramic undergoes in the kiln, typically between 1200°C and 1400°C. During this process, the clay body vitrifies, becoming dense and hard, while the glaze melts into a glassy layer, permanently bonding with the body. The temperature curve and atmosphere (oxidizing or reducing) inside the kiln are precisely controlled, as even slight deviations can lead to cracking, warping, or color defects. Therefore, the moment the kiln is opened is always filled with anticipation and nervousness.
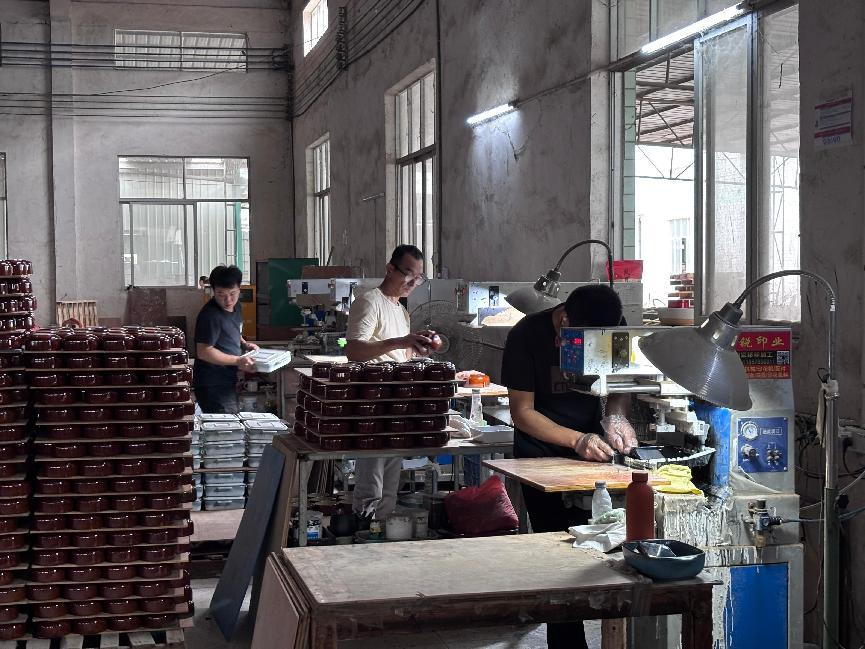
Decoration infuses soul into the ceramic. It can be applied before the glaze firing (underglaze), after (overglaze), or simultaneously (in-glaze).
Underglaze: Patterns are painted on the bisqueware, then covered with a transparent glaze for the glaze firing. The design is protected under the glaze layer, making it wear-resistant, fade-proof, and the safest and most durable option.
Overglaze: Decoration is applied on the already glazed and fired surface, then fixed with a lower-temperature firing (around 700°C-800°C). This allows for brighter, more varied colors, but as the design sits on top of the glaze, it may be prone to wear over time.
In-glaze: Similar to underglaze, but the design is applied on the already glazed bisqueware. During the high-temperature firing, the pigments sink into the melting glaze layer, offering a balance of color and safety.
Other Techniques: Also include浮雕 (relief), 镂雕 (openwork), decal application, and gilding (often using real gold or platinum luster, requiring an additional firing).
Stage 4: Rigorous Inspection & Final Appraisal
Not all ceramics that endure the trial by fire make it to the table. The final quality inspection is the last and most stringent gatekeeper of quality.
Inspectors examine each piece thoroughly using light, sound (tapping), and measuring tools:
Appearance: Checking for flaws like pinholes, bubbles, black spots, uneven glaze, or missing glaze.
Shape & Dimensions: Measuring for conformity to standards and checking for warping.
Glaze Quality: Ensuring a flawless, smooth surface.
Sound: Gently tapping the piece. A clear, ringing sound indicates good quality, while a dull sound may hint at hidden cracks.
Safety Tests: Samples undergo tests for lead/cadmium release, microwave safety, and dishwasher safety.
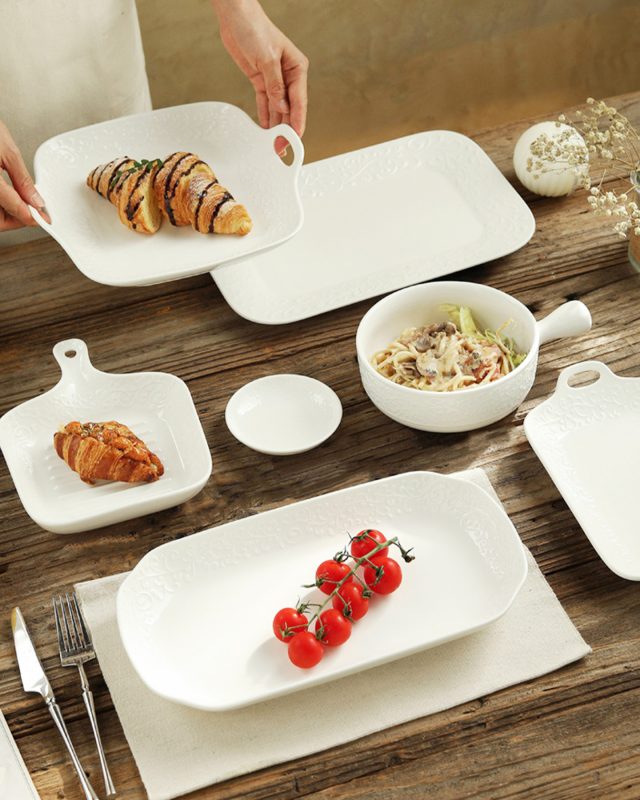
Only perfect pieces that pass all checks are carefully packaged, ready to be shipped worldwide.
This process fuses the gift of the earth (clay), human ingenuity (design and craft), and the baptism of water and fire, ultimately creating the functional yet beautiful artworks we use in our daily lives. Understanding this journey means that every piece of ceramic tableware you hold carries an extraordinary story within it.